Second-hand MacBook buying guide: 10 things to check
MacBooks are becoming increasingly cost-prohibitive with each new release. The market for pre-owned MacBooks is booming with a lot of takers nowadays. But you need to be careful. There are a lot of bad lemons out there.
This article can serve as a reference for all things to check before buying a second-hand MacBook. It also gives you free access to Fixxo’s guided MacBook QC tool to thoroughly test a MacBook!
By the way, if you’re still confused if it is worth buying a used or second-hand MacBook (and other aspects of shopping in the Pre-owned section), you might find this article helpful: Buying Used MacBooks? Everything you should know!
Note: In India there are broadly 3 avenues for buying used MacBooks:
- From individual sellers via Olx, Quikr, FaceBook, eBay etc. Slightly cheaper, no warranty, higher risk
- From multi-brand second hand dealers: More reliable than the above, but be sure to verify the trustworthiness of the outfit.
- From Apple-exclusive vendors: Like Fixxo. Slightly higher price, products backed by warranty, lower risk.
This guide is especially useful if you’re going with the first option - buying from individual sellers. Even otherwise, the below information is useful for any buyer.
1. Identify the model, check the specs & configuration online
Before setting up a meeting with the seller, be sure to know what you’re buying. Ask for the serial number or model number of the MacBook. Use everymac to lookup specs and model configurations. If you get the serial number, check its authenticity and warranty coverage with Apple here.
2. Match the serial number from different sources
When you meet the seller. First things first, verify the serial number. Note the serial number from all possible sources and ensure they’re the same. This’ll rule out any fishy business.
- Turn on the MacBook -> About this Mac -> Note serial number
- Serial number mentioned on the bottom lid of the MacBook
- Serial number mentioned on the box
- Serial number mentioned on the original purchase invoice (make sure to ask for it)
If any of the above has a mismatch, check with the seller why.
Refer this article for detailed steps to find serial number etc.
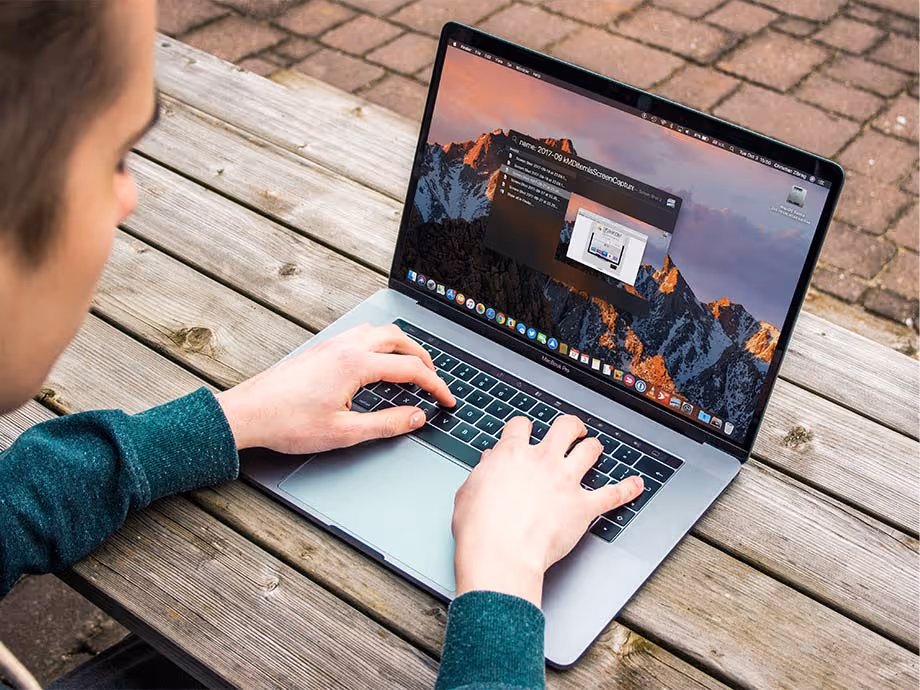
3. Visually inspect the device for any cosmetic damages
Examine the MacBook carefully from all sides. Look for any scratches, dents on the body. Ensure all rubber feet and all bottom lid screws are intact. Check the screen - the rubber gasket shouldn’t be worn out. If it’s a 2012-15 MacBook Pro, look for stains on the screen. Check the display panel hinges - they shouldn’t be too loose; the lid shouldn’t casually fall off on its own.
While none of these are critical issues, they can be good bargaining chips in price negotiation.
4. Check the age of the MacBook
It’s difficult to figure out the actual purchase date of the particular MacBook. But you can easily find the launch date/year of the model. From that, you can make a reasonable assumption as to how old the MacBook really is. The older a MacBook is, the harder you can negotiate on price. However, consider the flip side too: Older models -> More miles on it -> More wear & tear -> Shorter life expectancy.
There are a couple of ways to check the model launch year:
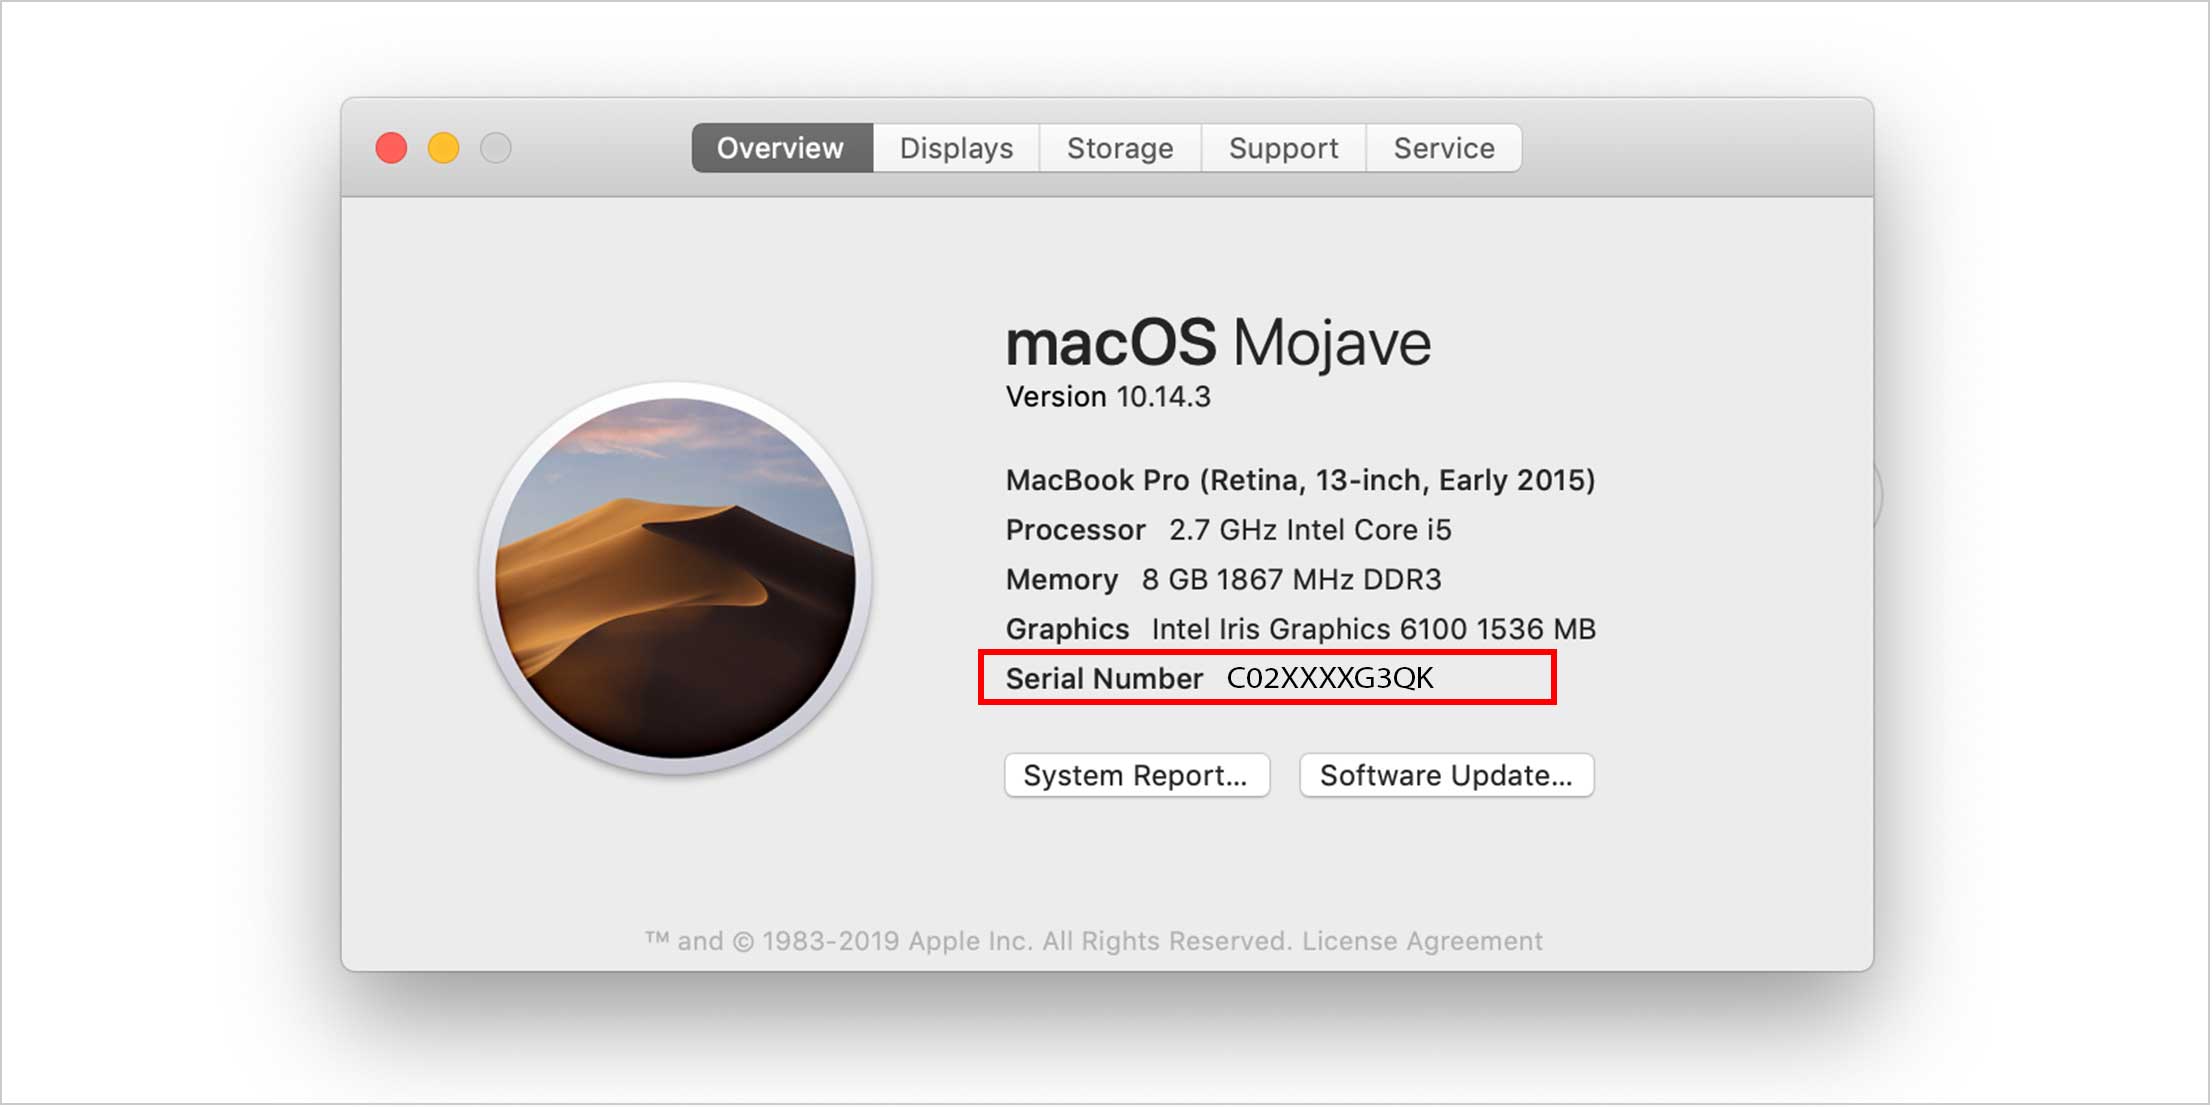
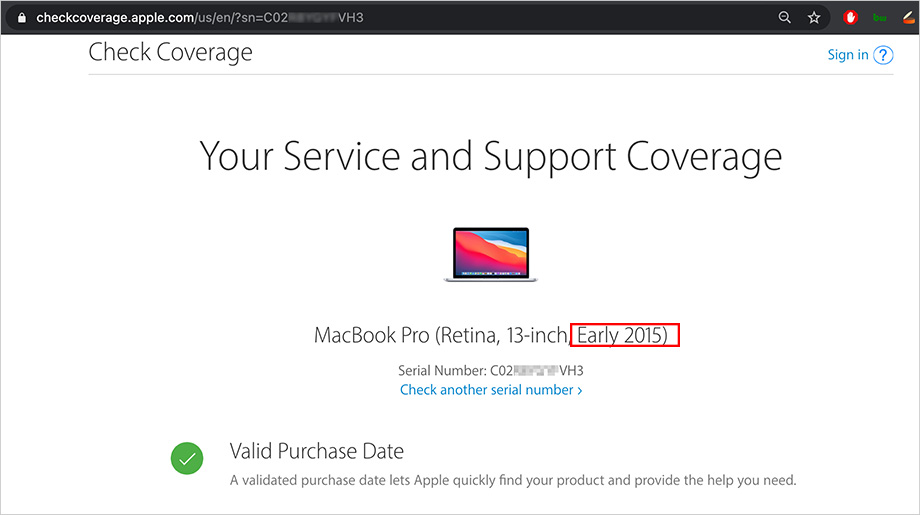
- In the “About this Mac” box, in the 1st row you can see the MacBook Identifier. This usually includes the model launch year. Like "MacBook Pro (Retina, 13-inch, Early 2015) in image above.
- Sometimes, the year is missing from “About this Mac”. In that case, copy the serial number from there and use this link to find.
5. Remove iCloud account from the MacBook
It is imperative that there is no iCloud lock on the MacBook. To sign out of iCloud account on the MacBook, ask the seller to do the following steps: Click on the Apple icon () in the menu bar -> System Preferences -> Click “Apple ID” -> Click Overview in the sidebar -> Click Sign Out.
Signing out of the iCloud turns off all iCloud features on the Mac. Including the activation lock that is enabled by Find My app on the MacBook. This is most critical.
6. Ensure there is no firmware lock
It’s easy to miss or forget about the firmware lock. But it can become a real headache for you later. If a MacBook has a firmware lock, it doesn’t allow you to change/upgrade the SSD or boot from an external disk.
Shut down the Mac and restart it - just as it powers on (you’ll hear the startup chime), press and hold the option (⌥) key. If you’re prompted for a firmware password, there’s the lock! Ask the owner to turn it off and repeat the above check.
How to remove Firmware lock on a MacBook?
7. Look out for model-specific known design flaws
As awesome as they are, a lot of MacBook models tend to have some or the other flaw. It may be a design defect or build quality related issue or something else.
For e.g. MacBook Pro 2016-17 models were notorious for keyboard issues due to the notorious butterfly keyboard design. Now, this doesn’t mean that ALL MacBook Pro devices of the 2016-17 model would have the keyboard issue - in fact a very small percentage of them do. But as a buyer, you better be informed about the known defects of the model you’re buying. And if possible, test the device specifically for that defect.
Few examples of model-specific defects:
- Battery Issue in MacBook Pro 15 inch 2015
- Keyboard Issues in MacBook Pro 2016-17
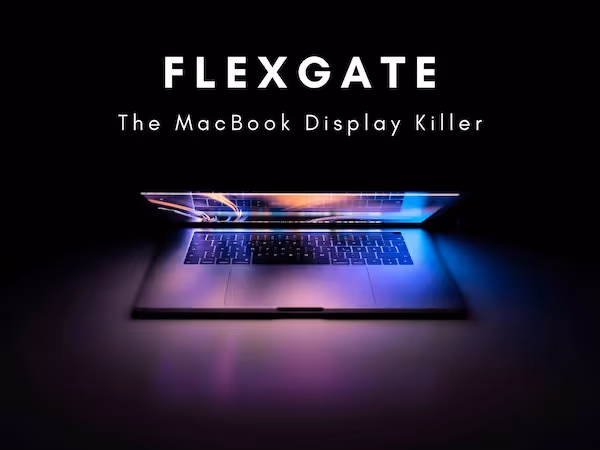
- Display Issues in MacBook Pro Touchbar models
- Staingate Issue in MacBook Pro 2013-14
8. Check the charging adapter
Ensure that the chargers are working. MacBook chargers, especially the older “Magsafe 2” adapters are quite vulnerable to wear and tear. Check the cable (connecting the adapter brick to the MacBook charging port) - the outer rubber tends to tear off. Which is not a deal breaker really, but still a bargaining chip. Check the pins on the end of the cable - 5 pins, they should be golden, not black. If they’ve turned black, it’s a red flag.
9. Run Apple Diagnostics
This should be your last step, as it may be a little time consuming. While it may NOT detect a lot of functionality-level issues, it’s still a good tool to detect any logic-board or memory level issues.
To start Apple Diagnostics (earlier known as Apple Hardware Test):
- Disconnect all external devices and turn off the Mac
- Power it back on and hold the D key once you hear the startup chime
- Select the language you need and press the arrow button to run the test
10. Test all hardware functions
Finally, get down to the nuts and bolts of it. Test the speakers, bluetooth, wifi, keyboard, trackpad, camera. Check the battery, check all ports, etc, etc.
Now, we could list out how-to’s for each test here. Instead we’ve just created a comprehensive guide to perform a hardware test on a MacBook. It helps you test each functionality step-by-step, and finally generates a neat little report for the MacBook. We recommended you access this guide on the same MacBook that you're testing. It’s free. You can thank us later!
MacBook QC Guide - by Fixxo